
Big news! I built my own picture ledges and it really wasn't that hard!
Here's my inspiration photo. I liked the light wood and the mix of frames and images. And I love the light fixtures above them -- but that's another story.

OK. So armed with some DIY instructions and a firm idea of what I want it to look like, I headed to the trim aisles at Mendard's. After some testing -- laying out the wood on the floor -- I settled on 1, 2, 3 approach. 3" piece of trim for the back, 2" for the bottom and 1" for the front. Some might like 4" at the back, making it taller, but I didn't want that profile.
Last, I had to pick the type of wood. Normally, I use pine because it's less expensive and very forgiving. But I'm not painting these ledges and I didn't like the yellow-y tint of pine, so I looked at other options.
We laid out a bunch of wood types and finally settled on finished oak. It was a little more pricey than the pine or unsanded oak. But I liked the way it looked. All in 6ft lengths, so I didn't even need my circular saw.
Once I got it all home, I got started. Here's how I put them together:
I used my favorite tool, MY NAIL GUN, to attach the front piece to the bottom piece. I didn't want to see screws on the front and that joint wasn't going to hold a lot of weight. I used a little wood glue, too. You can barely see them.
 |

The back piece I attached with wood screws, that theoretically sink in, so the back piece is flush to the wall. But here's where I hit the big snag. Even though I was pre-drilling holes, the screws were still stripping and not sinking in all the way. ARGH!
I had to use pliers to pull several of these out. The drill bit even snapped out in the wood at one point. I was more than a little frustrated.
Finally I stopped using the drill and got my nail gun out again after I got a few screws in just to secure the back piece. And am just hoping that it will all hold together.
I realized, DUH, oak is a much harder wood than pine and my drill bits were not made of the right stuff to stick with it. I guess I'll know better next time.
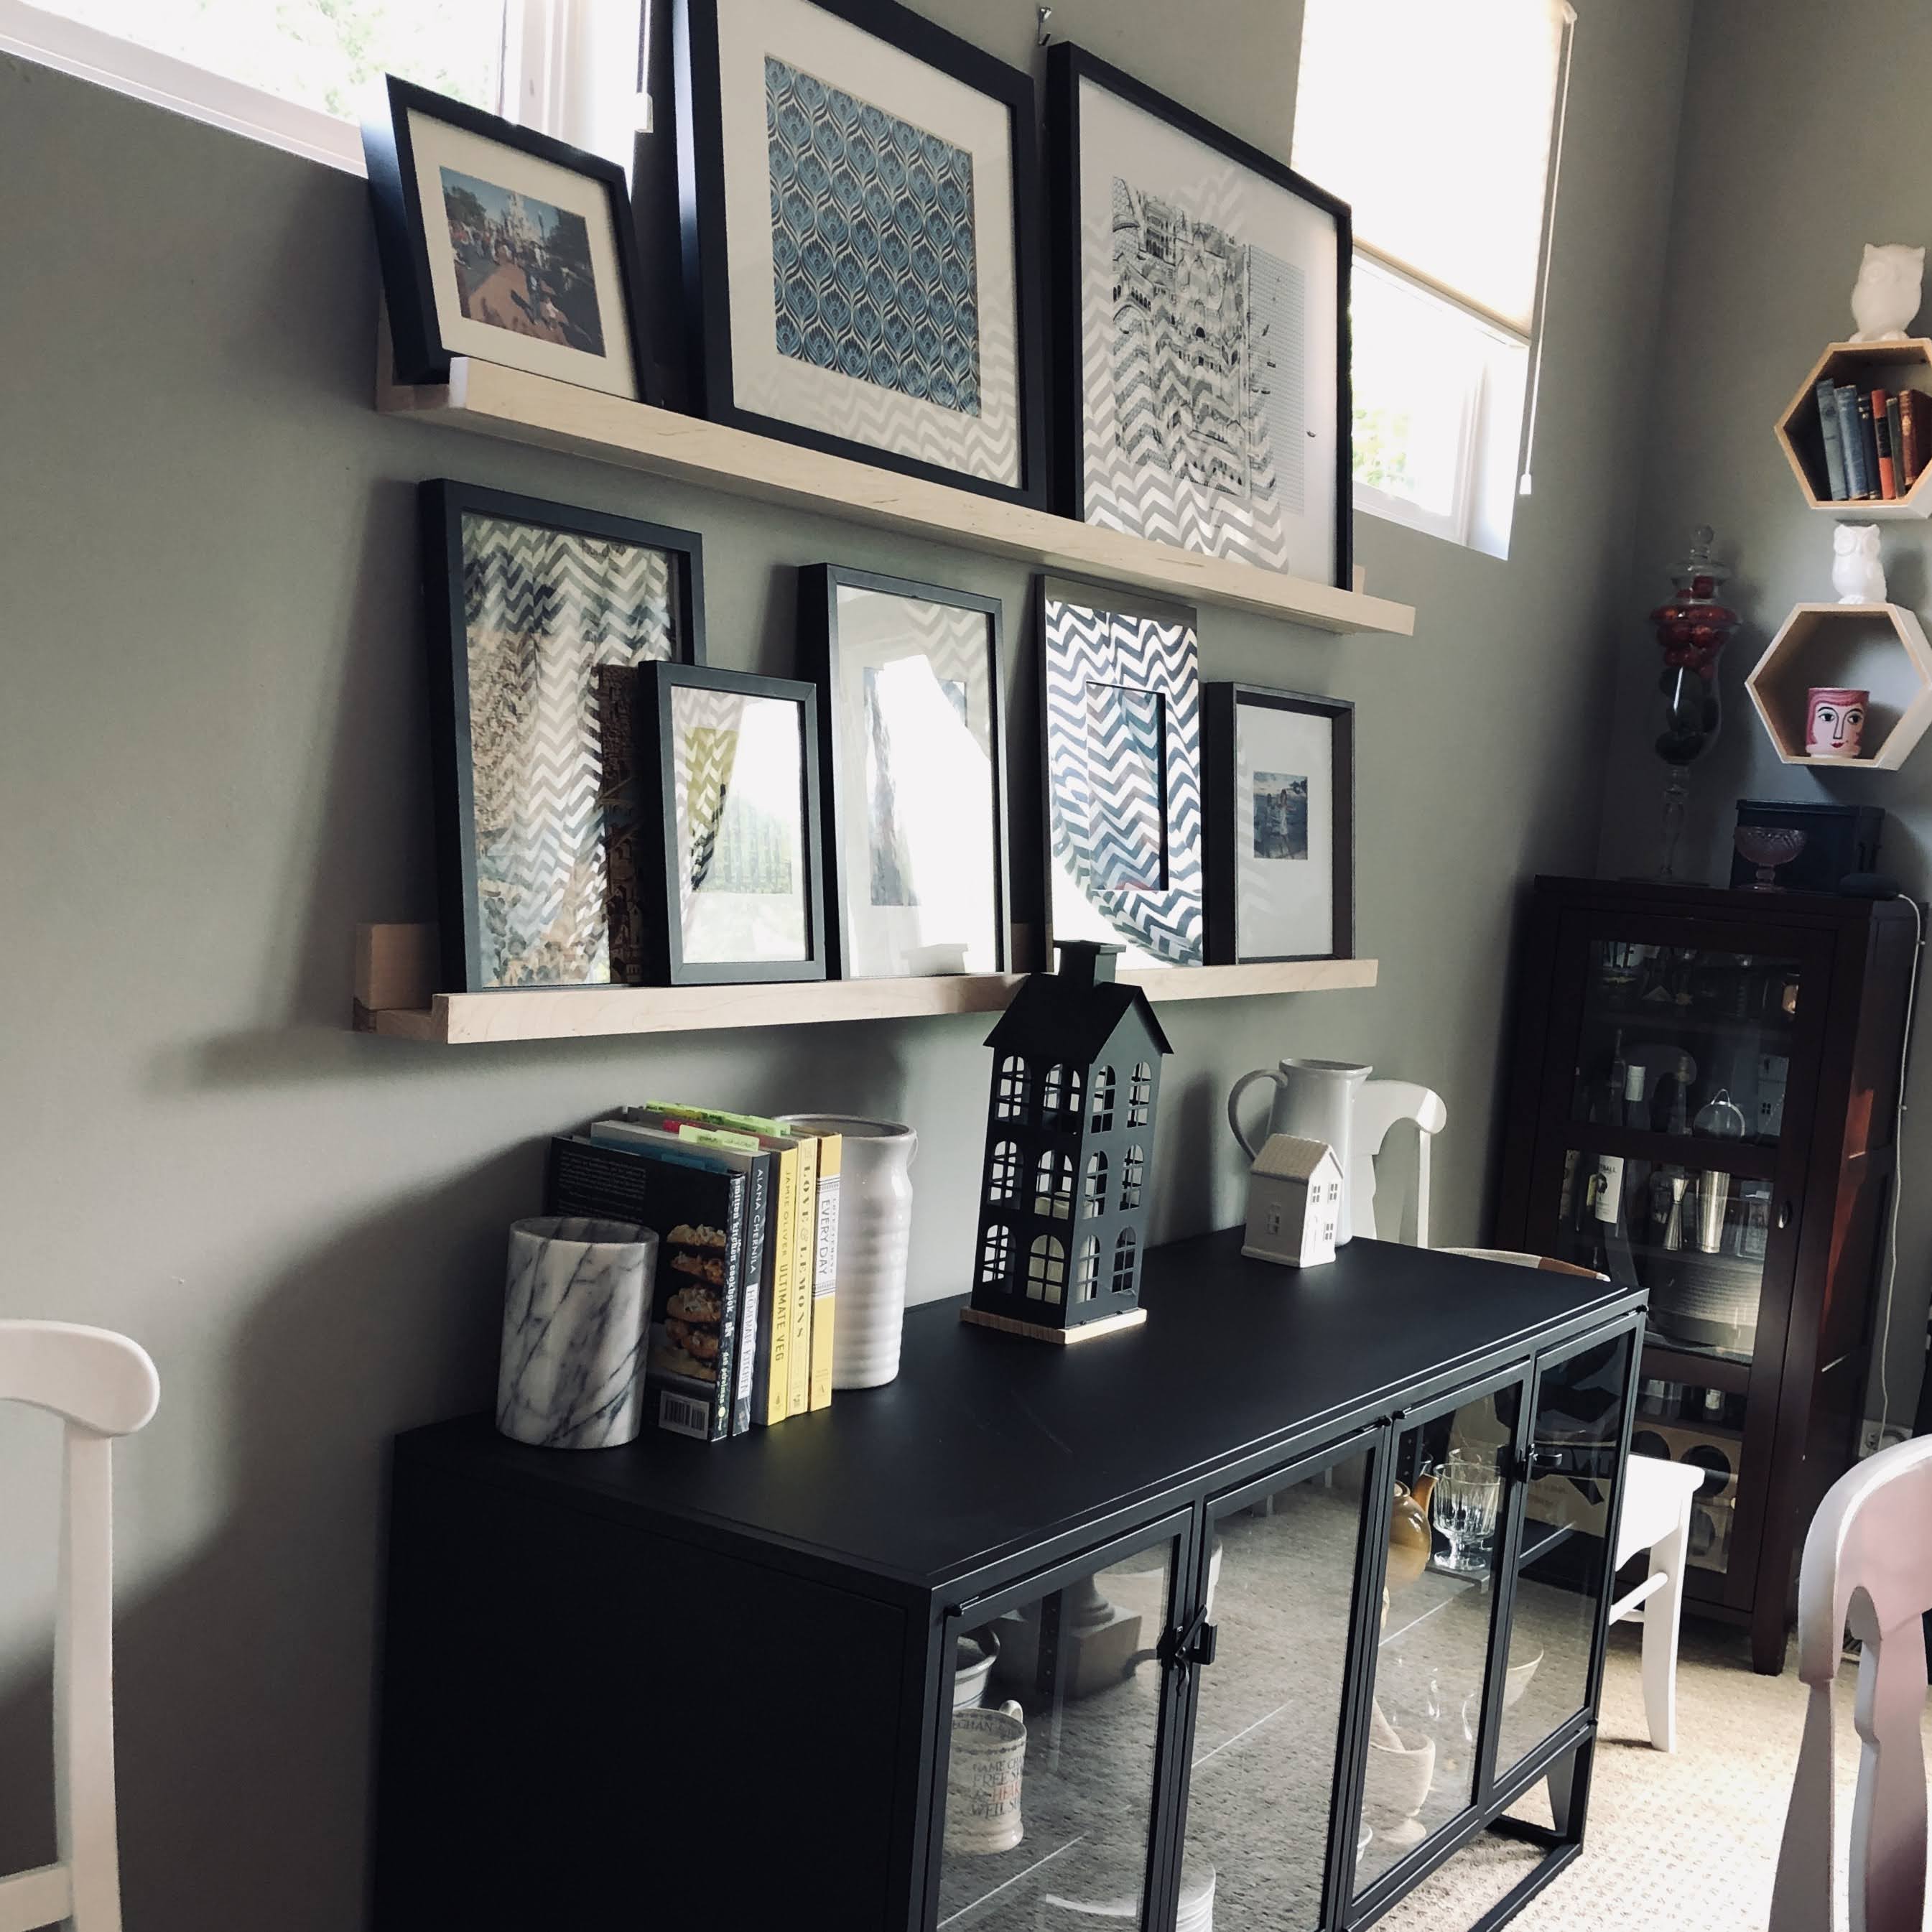
Overall, even with that snag, this was a SUPER SIMPLE project. It was mainly some assembly and then I screwed the back piece to some studs in the wall. Done and done. Just a few hours.
Now, on to figure out how to add a light fixture to the wall above the ledges without hiring an electrician!
I realized, DUH, oak is a much harder wood than pine and my drill bits were not made of the right stuff to stick with it. I guess I'll know better next time.
Overall, even with that snag, this was a SUPER SIMPLE project. It was mainly some assembly and then I screwed the back piece to some studs in the wall. Done and done. Just a few hours.
Now, on to figure out how to add a light fixture to the wall above the ledges without hiring an electrician!
Comments
Post a Comment